If you wonder what is the knockout hole punch and how to use it correctly??
In this article, I will talk about how to install practically” step by step” your electrical pulling box with a cable trunk or a cable tray using a knockout hole punch.
First of all, you need to know that the cable trunk or tray is mostly in the projects that we use to accommodate the different electrical and low current systems’ wires and cables.
These cables & wires are traveled from the system’s panel to the outlet, whether this outlet is ceiling mounted or wall mounted.
So, we shall find a way to connect the outlet’s box and the cable trunk or tray. That’s why we will use an intermediate backbox that connects directly with the sidewall of the cable trunk or tray.
Usually, we use a galvanized steel backbox or GI box, and its size depends on the number and outer diameter of the cable or wires that pass through this backbox from the cable trunk or tray.
In most cases, we will find that you will use a 10x10cm square GI backbox.
Why do we need to use the knockout hole punch?
Moreover, the material of the trunking system or tray is mostly manufactured from hot-dip galvanized sheets. Simultaneously, the cable truck’s sidewall or tray height is not less than 5cm and usually will be 10 cm.
Hence, to connect the backside of the pulling box with the trunk’s sidewall or tray, we need to make a hole in the cable trunk’s sidewall, and here will come the importance of the knock out hole punch tool.
Please be noted that there’s an alternative solution to make a round opening in the steel sheets by using a stainless steel hole saw cutter or using a step drill bit. Still, both of these two options can give you an opening with sharp edges, affect the sheets’ galvanization, and not an accurate round opening like what you will get from using the knock-out hole punch.
So, we can conclude that the knockout hole punch tool’s function is a tool that helps us cut a clean round opening in the steel sheets of the different electrical items, like cable trunk or tray, panel board, pull boxes, and so on.
We have two main types of this tool, the hydraulic one, and the manual ratchet one.
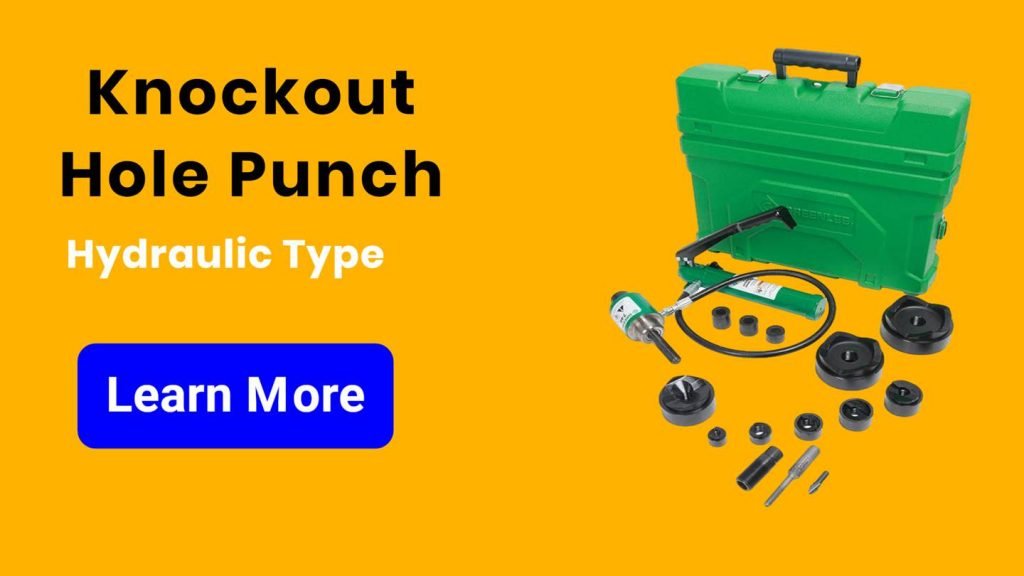
Both of them will give the same function, but the difference will be in the speed of making this opening, the effort which needs to make this opening, and the maximum opening size that can be cut.
But for sure, the more options you will get, the more money you will pay. That’s why the hydraulic knock-out hole punch is more expensive than the manual ratchet one.
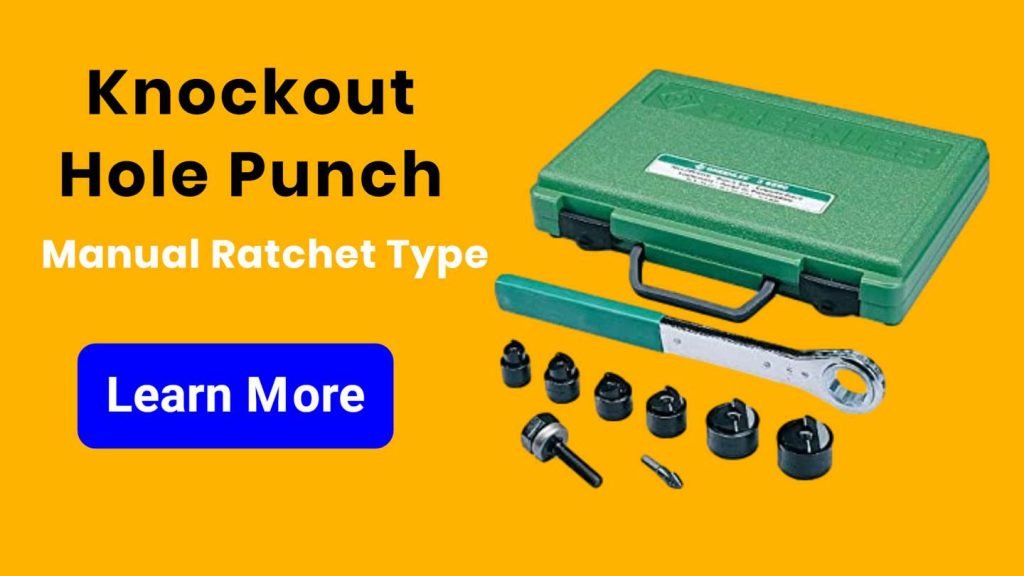
Now I will start talking about the manual ratchet-type knockout hole punch tool step by step.
This Ratchet Type Manual Knockout Hole punch consists of four main parts:
A- A draw stud (it’s a large threaded bolt to make a connection between two pieces, the metal cylinder, and the die).
B- A die, which it’s a metal cylinder.
3- A punch that is responsible for cutting to make a knock-out hole.
4- A ratchet wrench hand, we can rotate it either clockwise or anti-clockwise.
Here are the steps which you need to follow to get a round shape opening in your steel sheet:
1- You need to use a drill machine and a cobalt drill bit to make a hole in the steel sheet of your trunk, tray, or panel board.
Note: I highly recommend using a cordless drill machine, as its size is small, which can help you a lot in congested places.
The size of the hole is to be as per the diameter of the draw stud. To allow the draw stud to be inserted inside the steel sheet to connect the die and punch.
Usually, the draw studs have two sizes, 3/8” in diameter, which is the small size, and 3/4” for the big size.
2- Based on your required opening in the steel sheet and the fitting size, which will be connected to the sheet, you will use the proper size of the die.
For example, if we need to connect a backbox to a GI cable trunk, at the same time, we need a hole with a size 3/4”.
We need to install a brass bush reducing male with metallic insulated conduit bushing, so we will use a die with a size 3’4” to be connected to the draw stud.
3- Connect the desired size of punch to the draw stud from the other side of the sheet, so now, the draw stud is inserted through a hole in the metal sheet of the tray and connecting between the die from one side of the tray, and the punch on the other side of the tray.
Note: the punch is the piece with the cutting edges, while the die is the piece with the cylindrical flat edges.
4- Connect the ratchet wrench hand to the draw bolt, then rotate the hand. You can see while turning this ratchet hand. It pulls the punch towards the die.
You need to keep turning or rotating the hand until the punch cuts through the steel material.
5- Separate the draw stud and punch and remove the little ring of waste material lodged inside the die.
It is called a slug and usually is split in half by the punch, giving this kind of punch the nickname “slug-buster.” 😀
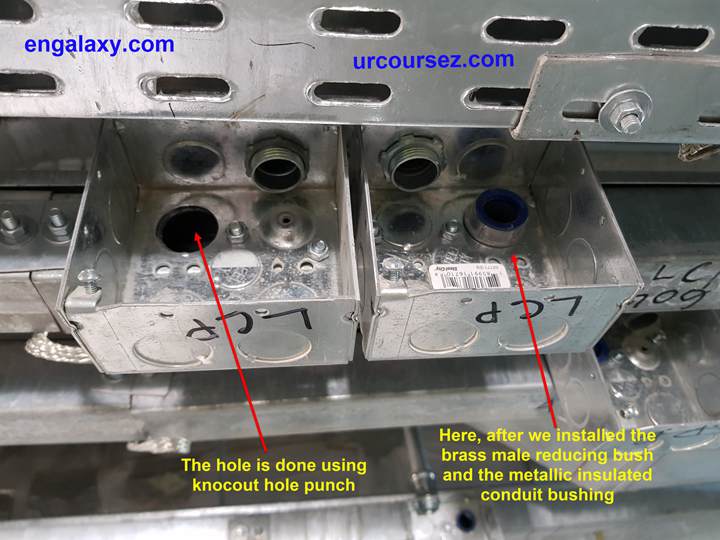
Congratulations, now you can connect between the pulling GI backbox with the GI cable truck using the brass bush reducing male with metallic insulated conduit bushing. You are ready to fix from the top side of this pulling backbox an EMT/RGS or any other pipe material to your required final location.
(Free videos) The practical explanation for the components of the electrical panel On-Site
Summary of the tools which are required to complete this job:
02- Permanent Pen Marker. We need it to mark the location of the hole.
05- Manual Ratchet Type Knock-out Hole Punch.
09- Metallic Insulated conduit bushing.
11- Hacksaw Frame. It will be used in the next stage while connecting the pipe to the pull box.
12- Metal Hacksaw blade. It will be used in the next stage while connecting the pipe to the pull box.
13- File Set. It will be used in the next stage while connecting the pipe to the pull box.
14- EMT Conduit bender. It will be used in the next stage while connecting the pipe to the pull box.
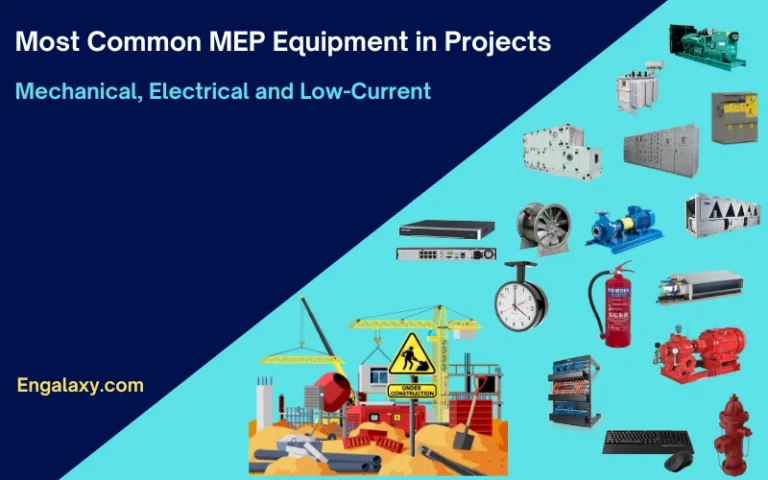
Here are links for my other posts related to the MEP installations on-site:
Torque Wrench – Your Best Guide in 4 Minutes
Electrical Panels – No.1 Guide in their Practical installations On-Site
Top 10 important tools with the electrician in Infrastructure Works
The Common 7 MEP Mistakes & Solutions in the Construction Projects- Your Best Guide
Your Easy BMS Guide “Building Management System” in Projects – No.1 Guide
Your Easy Guide in Understanding the Fire Alarm System from A to Z, 100% you will be satisfied
The Most Important 10 PPE in Construction Projects
Your No.1 Guide for better understanding MEP Infrastructure Networks in construction projects
No.1 Easy Guide about VRF & VRV Systems