How to do an insulation test for cables?
First of all, You need to know why do we need to do this test? And when will we do this test?
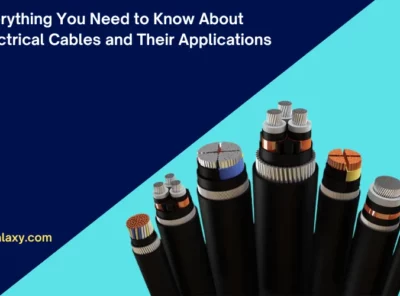
The cable consists of either a single core (conductor) or a multi-core (conductors).
Each conductor has its insulation, plus the cable has outer insulation surrounding all the conductors.
After pulling the cables and before energizing them, we need to ensure no fault will happen after the energizing.
This fault can be immediate after the energizing, or it will take a piece of time.
It depends on the quality of the conductors’ insulation.
So, we must check and test the insulation quality of the conductors before the energizing process.
Now, I will talk about how to perform the insulation test of cables, step by step.
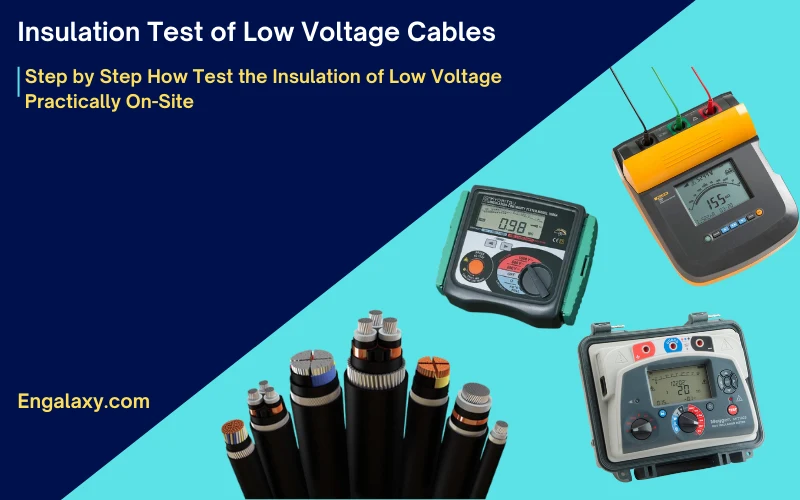
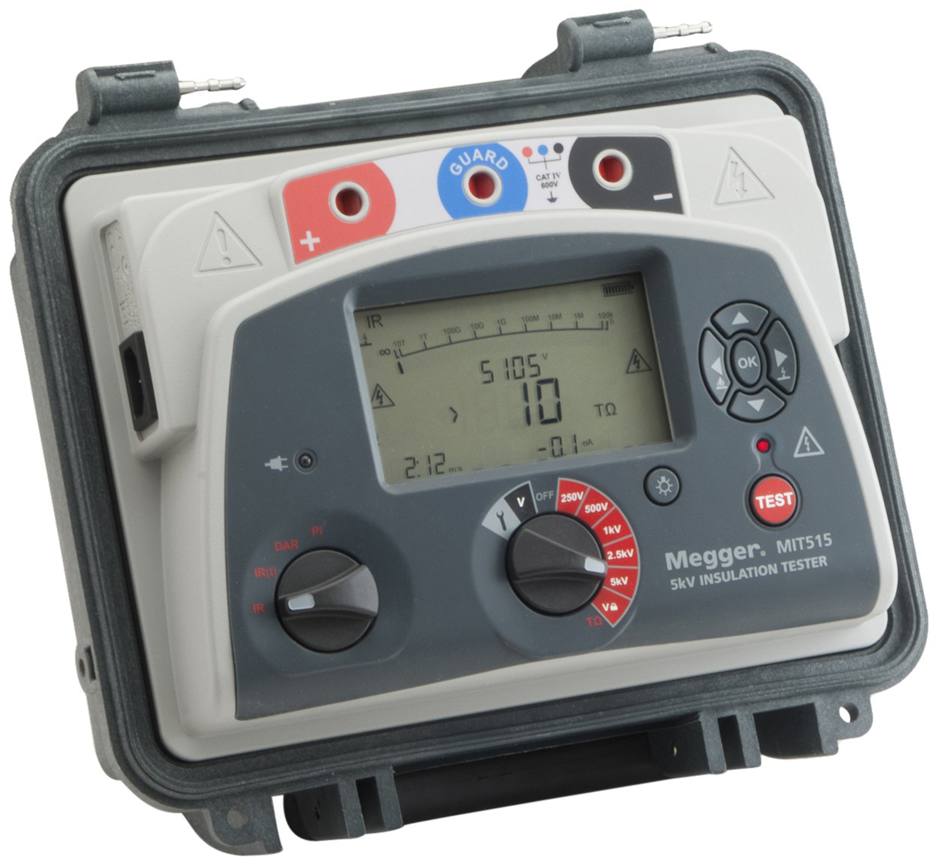
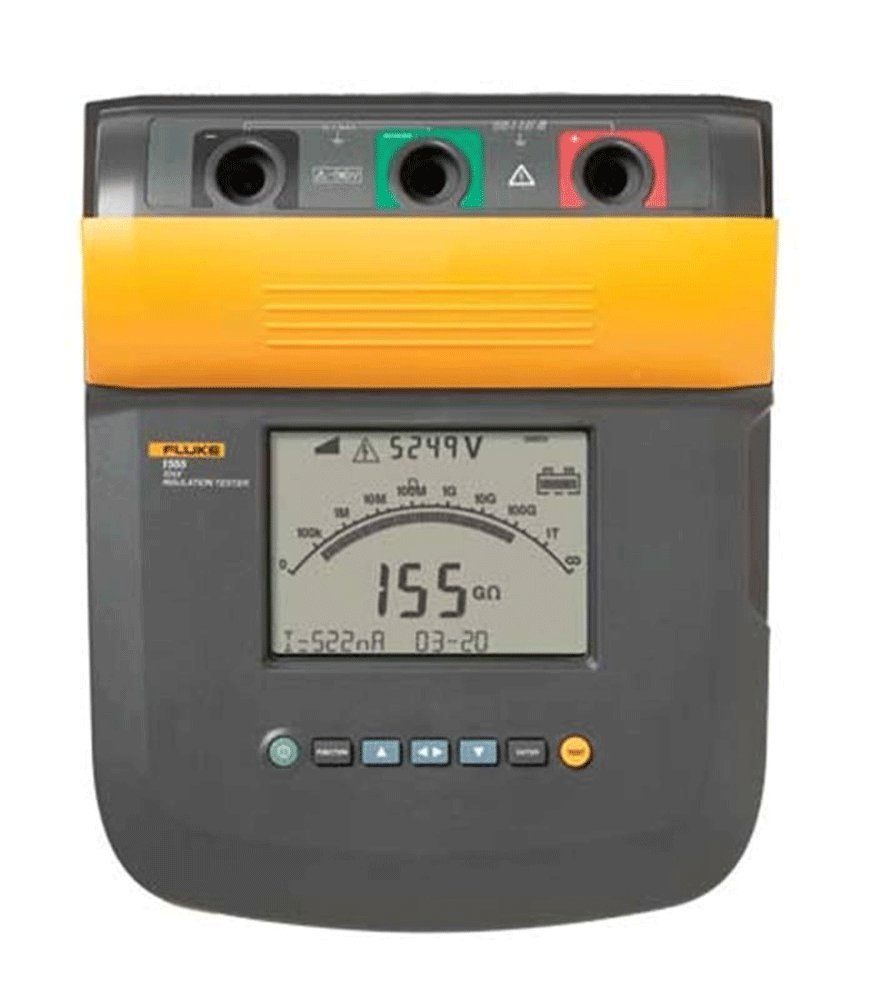
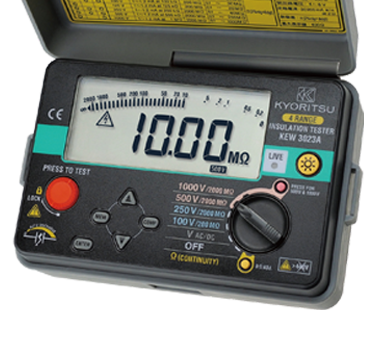
Firstly, we will do this test using a device called an insulation tester.
This device is a portable tool like an ohmmeter with a built-in generator that produces high values of DC voltages.
As per the manufacturing withstand voltage of the cable, we will choose the test voltage.
Usually, the applied voltage to the low-voltage cables will range from 500 volts to 1000 volts for 60 seconds.
You need to know in many projects that, they will call this test megger test, but this is not the correct name of the test, as the proper name of this test is the insulation test.
Megger is a brand name (manufacturer) that manufactures this device to check the cable’s conductors’ resistance.
And as it was used widely in the projects, people used to call it the megger test. However, other famous companies are also manufacturing the insulation test devices, like Fluke, kyoritsu, etc.
The insulation test of low voltage cable’s main concept is applying a specific volt value on two conductors of the cable for a particular time, then measuring the resistance between them.
The time of the test usually to be from 30 seconds up to 60 seconds.
As the device’s applied voltage is known, the device will measure the current flow’s value in the conductor and then calculate it to get the resistance.
Usually, the reading will be in values of hundreds of megaohm or Giga ohms or can even reach Tera ohms.
It depends on the quality of the insulation.
You need to know that good insulation has high resistance, while poor insulation has relatively low resistance.
The actual resistance values of the cable can be higher or lower,
depending upon such factors as the temperature or moisture content of the insulation (resistance decreases in temperature or moisture).
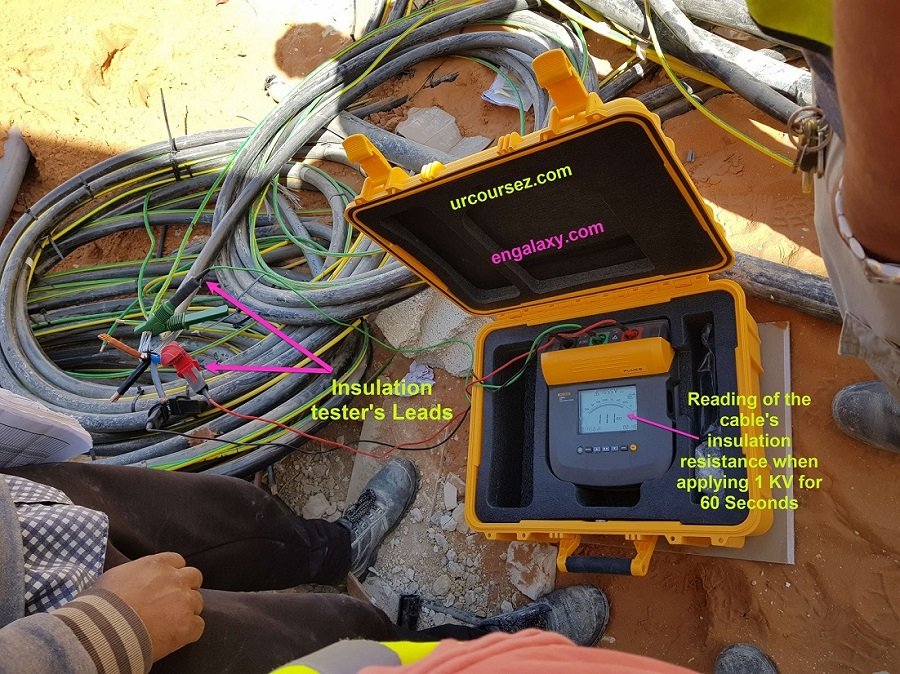
As you can see in this photo, we have a multi-core cable consisting of 4 conductors.
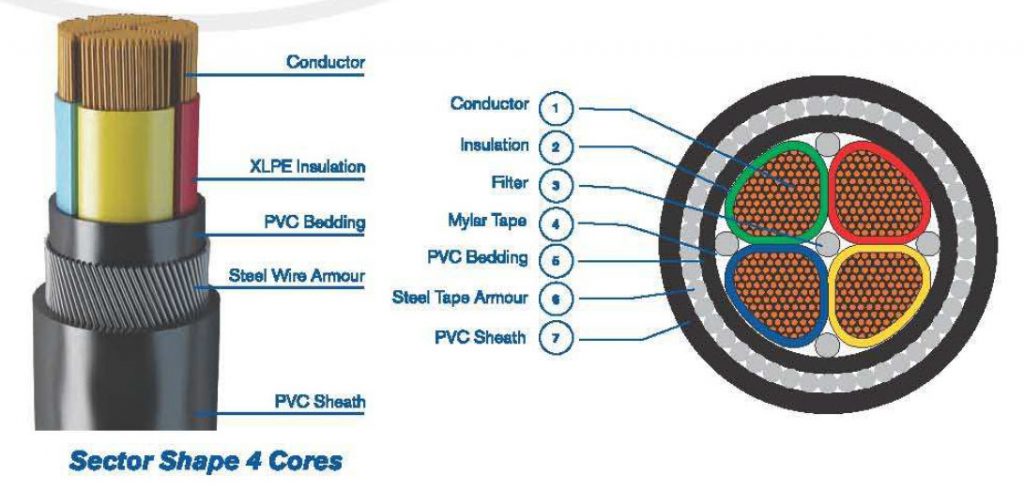
The colors of the cable’s conductors are Red, Yellow, Blue, and Black.
The maximum withstands voltage for the cable’s conductors is 1 KV= 1000v.
Note: After this value, the insulation of the cable’s conductors will start to fail.
Before starting this test, you need to care about the following points:
1- You need to ensure removing the cable’s terminals from any panel or breaker.
This is only for the cable on which you need to apply the test on.
2- You need to ensure each cable has a tag or label labeled from both ends.
This is to avoid any mistakes, especially if you have multiple cables are pulled at the same location.
3- You need to proceed with the continuity test first on the cable to ensure no touching between the same cable’s conductors.
4- There’s a separation between the cable’s conductors at both ends.
5- At the location where you will use the insulation test and apply the voltage to a cable’s end, make sure the cable’s outer sheath and the conductors’ insulation are removed.
This is to allow connecting the insulation tester’s leads to the conductors for the test.
6- You need to ensure that the insulation tester is calibrated and has a valid calibration certificate.
You need to attach this certificate with the test results during the inspection to the consultant.
The importance of this calibration certificate is to ensure the readings are correct.
7- Before starting the test, you need to ensure that you adjusted the insulation tester for the required applied voltage and time on the cable.
Now, we will know the practical procedure for applying the test to a low-voltage cable:
A- So, let us say we will apply a dc voltage with a value of 1000v on only two conductors, Red & Yellow.
B- We will apply this voltage for 60 seconds and then record the resistance between these two conductors, Red and Yellow.
C- Once we record the reading in a sheet, we will remove the insulation tester’s leads and connect them to the other two conductors.
We will follow the same steps to check the resistance between the following conductors:
Red with Blue.
Red with Black.
Yellow with Blue.
Yellow with Black.
Blue with Black.
So we will record all the readings and put them on a table of a form that is ready-made for this test.
After that, the quality control will submit an inspection request to the consultant to come to the site and physically check the results.
Once the consultant finds the submitted results almost identical to the results obtained during his presence, he will approve the test.
Now, you are ready to energize the cables.
You will follow the above steps for your project’s low-voltage cables.
Expert Advice
Enroll now in our Full MEP Package of Online Courses (+8 courses) and get immediate access to +210 lectures in our different online courses.
Plus, during your subscription, you will get access to all the new future courses & lectures added to the package.
You can get access to all courses and lectures by clicking this button.
Note: We offer you 14-Day Money Back Guarantee if you don’t like the course
You can read also:
EMT Conduit Installation & Bending – Your Best Guide in 7 Minutes
Heat Shrink tubing and its importance in Panels – Top Best Practical Guide in 5 Minutes
Emergency Lighting Fixtures – What you need to know in 5 minutes
Electrical Panel Schedule in Projects – 23 Important Notes you need to know
Knockout Hole Punch – How to use it in 5 easy steps
Torque Wrench – Your Best Guide in 4 Minutes
Electrical Panels – No.1 Guide in their Practical installations On-Site
Top 10 important tools with the electrician in Infrastructure Works
The Common 7 MEP Mistakes & Solutions in the Construction Projects- Your Best Guide
Your Easy BMS Guide “Building Management System” in Projects – No.1 Guide
Your Easy Guide in Understanding the Fire Alarm System from A to Z, 100% you will be satisfied
The Most Important 10 PPE in Construction Projects
Your No.1 Guide for better understanding MEP Infrastructure Networks in construction projects
No.1 Easy Guide about VRF & VRV Systems