Today we will see together how to install and bend practically EMT conduits on-site.
I divided the explanation into three parts. In the first part, I will talk about the tools required to complete the work.
While in the second part, I will talk about the materials required during the installation process.
And in the third part, we will watch together practical videos for the installations on-site.
First of all, you need to know that EMT means metallic electrical tubing.
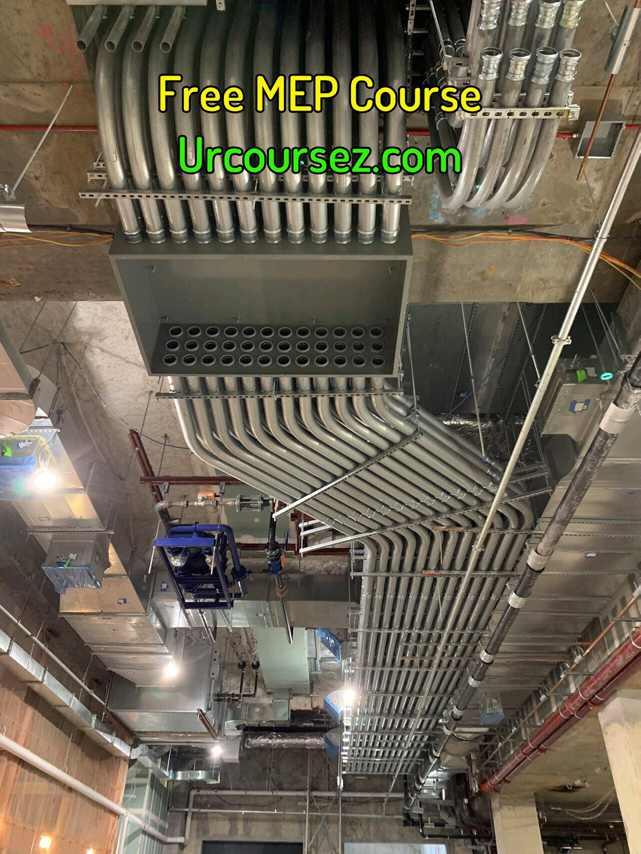
We usually use these EMT conduits above the false ceiling or inside the gypsum wall partitions.
Secondly, we can use these conduits with different electrical and low current systems.
Thirdly, to install these conduits, we need to have some hand and power tools to correctly perform the job.
We can summarize the list of these tools as follows:
1- Measuring tape:
We will use it to measure the required length of pipes to be installed with the concrete slab.

2- Permanent maker:
We will use this marker to mark the holes’ locations that we need to drill to install the saddles or staps.
The main function of the saddles or staps to hold the conduit with the concrete slab or the wall.
We will also use this marker to put a mark on the pipe at the required location for bend or cut.

3- Hacksaw frame with its blade:
We will use it to cut the conduit at a specific length as per our requirements on-site.

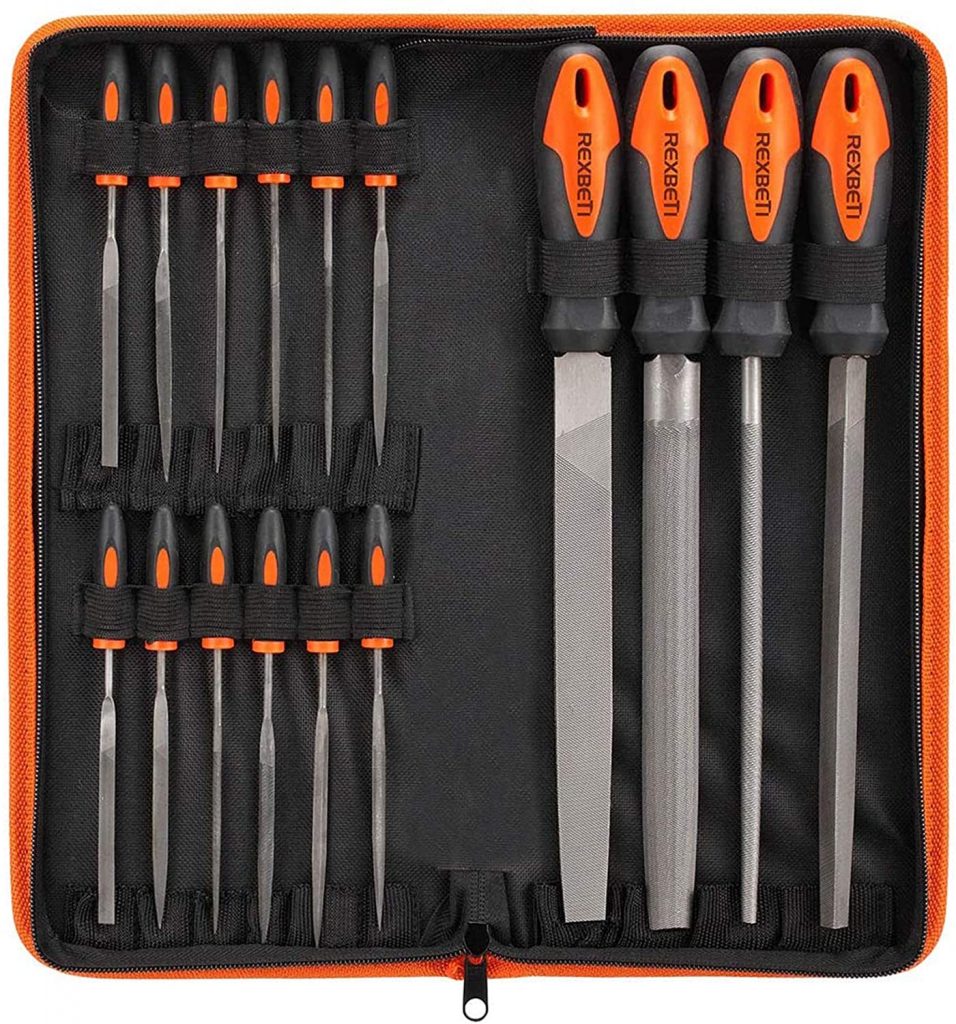
4- File set:
As the pipe is circular, so we will usually use either the round file or the half-round file. This is to allow removing the sharp edges from inside or outside.
After cutting the EMT conduit, we shall remove and clear any sharp edges that exist at the conduit’s edge. That’s why we will use the file.
5- EMT Conduit Bender:
We will use it to bend the conduit at a specific angle, either 30 degrees, or 45 degrees, or 90 degrees, or whatever is required in the site.
This is based on the site situation and the required angle during the installations.
We have multiple types of benders, either to be consisting of a head with a hand, which is the most common one.
Or it can be with a stand.
Also, you can find motorized types, as you can see in this photo, but for sure, it’s more costly than the other manual types.
That’s why usually, in the projects, we will use the manual type head+hand because the EMT conduit’s material is not as hard as RGS conduits.

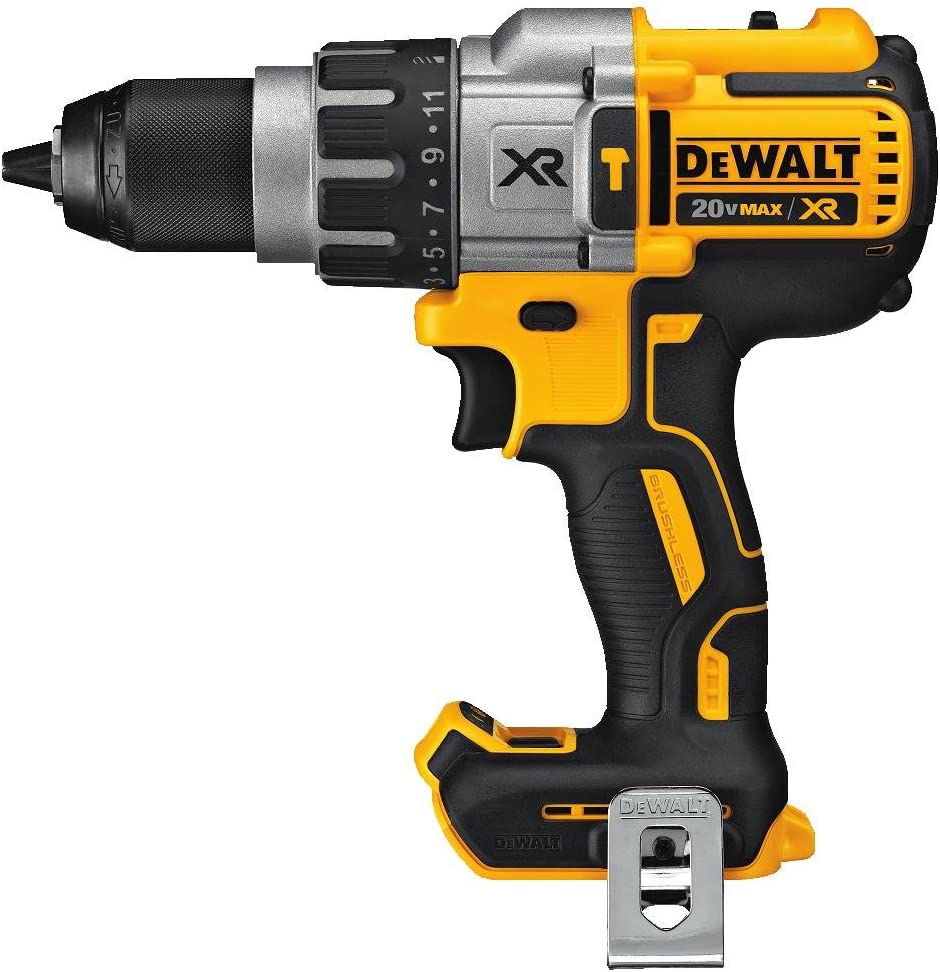
6- Hammer Drill machine:
We will need it to drill the locations of the holes required either in the concrete slab/beams or in the walls, to allow installing the saddle that will catch or hold the conduit with the structural items.
Also, we will use it to drill the locations of the holes required for the Fischer, which will fix the GI boxes with the slab or the wall.
7- Drill bit:
It will be inserted into the hammer drill machine to drill the holes.
Its size and type will be decided based on Fischer’s size and the type of surface which we require to drill.
8- Hammer:
We will use it to push the Fischer inside its hole, which we made using the hammer drill, to assure the Fischer is inserted completely inside its hole.
9- Screwdriver:
We will use it to fix the screw with the Fischer, and we can use either the flat type screwdriver or the Philips type. But usually, we will use the Phillips type.
10- Scaffolding or ladder:
The electrician needs to use them to get access to the work location at a high level.
The safest one is using steel scaffolding with wheels, brakes, and sidebars.
But the issue is due to its big dimensions, so it needs wide free space to be erected.
That’s why we will go to the aluminum scaffolding type due to its lightweight, ease to be erected, and moving.
But still, in some congested places, we can’t use the scaffolding, so we will go to the final option, which is the ladder.
The ladder has two types, the straight one or the double side.
Also, we are calling this second type, A Type ladder.
The straight one we can use only during working on a wall, while the A-Type will be used in different situations and locations.
Both of these two types of ladders their height will be depending on the number of the ladder’s steps. And usually will be fabricated from aluminum.
But you shall know that in many high-quality projects, the health and safety team will not allow using the ladder due to the high risk of falling during work, and in case they agreed, they will instruct the technicians to use a safety harness which will be held in a fixed item (like a pipe) to carry the technician in case of falling.
11- Spirit level:
We will use it to check the proper alignment of the EMT conduit, especially for the vertical installations on the walls.
The longer the spirit levels to be used, the more accurate results you will get while checking.
12- Spray Paint:
After the completion of the EMT installation and its boxes, we need to identify the conduits and their boxes are related to which system, either lighting, or power, or fire alarm system, and so on.
That’s why we will use spray paint with a specific color to a specific system.
Usually, we will use the red color for identifying the fire alarm system.
Or you will use the color as per the approval from the consultant in your project.
Also, in some projects, they will instruct to install labels or tags on the conduits and boxes to identify these installations are related to which system.
In the end, this is depending on the specifications of the project.
If you would like to watch this video, please click on the following photo.
In the coming videos in the course, I will explain the different materials to be used during the installation, plus we will see practically how the electrician is bending the EMT conduit and fix the conduits in the slab and wall.
You can read also:
Heat Shrink tubing and its importance in Panels – Top Best Practical Guide in 5 Minutes
Emergency Lighting Fixtures – What you need to know in 5 minutes
Electrical Panel Schedule in Projects – 23 Important Notes you need to know
Knockout Hole Punch – How to use it in 5 easy steps
Torque Wrench – Your Best Guide in 4 Minutes
Electrical Panels – No.1 Guide in their Practical installations On-Site
Top 10 important tools with the electrician in Infrastructure Works
The Common 7 MEP Mistakes & Solutions in the Construction Projects- Your Best Guide
Your Easy BMS Guide “Building Management System” in Projects – No.1 Guide
Your Easy Guide in Understanding the Fire Alarm System from A to Z, 100% you will be satisfied
The Most Important 10 PPE in Construction Projects
Your No.1 Guide for better understanding MEP Infrastructure Networks in construction projects
No.1 Easy Guide about VRF & VRV Systems